
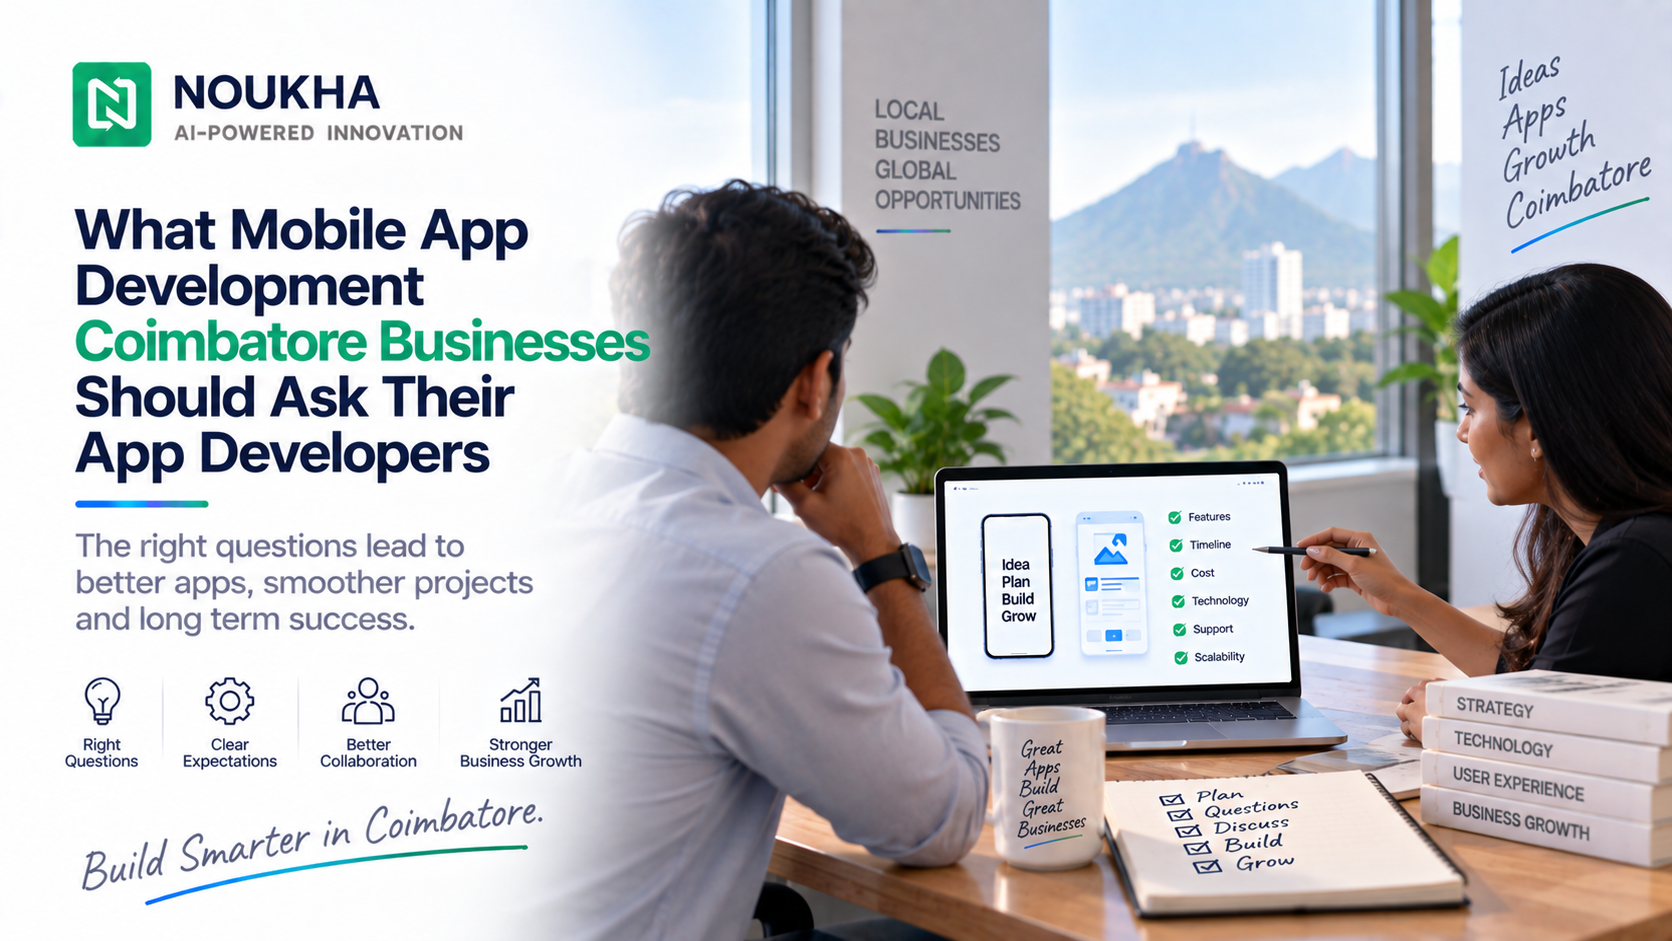
Every app that people scroll through, tap on, and rely on every day started out as a rough sketch on paper or a quick note on someone’s phone. Turning that early idea into a working product on the Google Play Store is a journey that involves planning, design, coding, testing, and patience. If you are a startup founder, a small business owner, or an entrepreneur exploring mobile app development in Coimbatore, this guide walks you through the entire process, stage by stage, so you know exactly what to expect before your app goes live.
Why Coimbatore Is Becoming a Preferred Hub for App Building
Coimbatore has quietly grown into one of South India’s more active technology centers. The city offers a strong pool of engineering talent, a lower cost of operations compared to metro cities, and a growing number of studios that specialize in building apps for startups, retail businesses, healthcare providers, and educational institutions. Founders based in Chennai, Bangalore, or even outside India often choose teams here because they get metro-level skills without the metro-level price tag. This shift has made the city a practical choice for anyone searching for reliable app builders who understand both the technical and business side of a product.
Stage 1: The Idea and the First Sketch
Every project begins with a problem worth solving. Before any code is written, a good development partner will sit down with you to understand your business goals, your target audience, and the core feature that will make your app useful. This is usually the stage where rough sketches, sticky notes, or simple diagrams come into play. The point of this exercise is not to create something polished; it is to map out the user journey so that everyone, from the designer to the developer, understands what the final product should achieve.
A clear idea at this stage saves significant time later. Many projects run into trouble not because of poor coding but because the initial concept was never fully thought through. Founders who invest a few extra days clarifying their app’s purpose, its main screens, and its intended audience tend to see a smoother build process overall.
Stage 2: Wireframing and UI/UX Planning
Once the concept is settled, the sketches evolve into wireframes. These are simple, grayscale layouts that show where buttons, menus, and content blocks will sit on each screen. Wireframes are deliberately unstyled because their job is to test structure and flow, not looks.
After wireframes are approved, designers move on to the actual visual design, choosing colors, typography, icons, and spacing that match the brand. User experience decisions made here, like how many taps it takes to complete an action or how the app responds to different screen sizes, have a direct impact on how long people stay engaged once the app is live. A rushed design phase often shows up later as poor app store ratings, so most experienced teams treat this step with real care.
Stage 3: Choosing the Right Development Approach
This is where many founders get stuck, because the technical route you choose affects budget, timeline, and long-term maintenance.
Native Development
Native apps are built specifically for one operating system, either Android or iOS, using the platform’s own programming language and tools. This approach generally delivers the best performance, smoother animations, and full access to device features like camera, GPS, and push notifications. For businesses that want a fast, polished experience built exclusively for Android users, Native Android app development Coimbatore is often the recommended path, especially for apps that rely heavily on device hardware or need long-term scalability.
Cross Platform Development
Cross platform frameworks such as Flutter and React Native allow a single codebase to run on both Android and iOS with minor adjustments. As of 2026, Flutter holds roughly 46% market share versus React Native’s 35%, and benchmarks show Flutter typically delivers faster cold starts and more consistent frame rates in animation-heavy apps, while React Native often produces smaller app binaries and fits well with existing JavaScript and web teams. This route is usually faster to build and easier on the budget, which makes it attractive for startups that want to launch on both platforms quickly and validate their idea in the market before investing further.
Neither approach is universally better. The right choice depends on your budget, timeline, target audience, and how much the app depends on native device features.
Stage 4: Coding and Building the App
With design files and technical direction finalized, developers begin writing the actual code. This stage typically involves setting up the backend, which handles data storage, user accounts, and server logic, alongside the frontend, which is everything the user sees and interacts with. APIs are built or integrated to connect the app with payment gateways, maps, notification services, or any third-party tool the business needs.
Good development teams work in short cycles, often called sprints, building a portion of the app, reviewing it internally, and adjusting before moving to the next chunk of work. This keeps the project flexible and makes it easier to catch issues early rather than discovering them right before launch.
Stage 5: Testing and Quality Assurance
No app should go live without thorough testing. Quality assurance teams check for functional bugs, broken links, crashes, slow loading screens, and inconsistent behavior across different phone models and Android versions. Testing also covers security, checking that user data, payment details, and login credentials are properly protected.
Usability testing is just as important as technical testing. Real users, or at least a small test group, try out the app and share feedback on anything confusing or frustrating. This round of feedback often leads to small but meaningful tweaks that improve the overall experience before the public ever sees the app.
Stage 6: Preparing for Google Play Submission
Launching on the Google Play Store involves more than just uploading a file. As of 2026, developers must complete a series of practical steps before the app can go live:
- Register a Google Play Developer account (one-time $25 fee) and complete identity verification.
- Build and upload a signed Android App Bundle (.aab), not an APK.
- Ensure the app targets Android 16 (API level 36) for new submissions and updates from 31 August 2026 onward.
- If using a personal account created after 13 November 2023, complete a closed test with at least 12 testers for 14 continuous days before applying for production access.
- Provide a publicly accessible privacy policy URL, complete the Data Safety form, and finish the content rating questionnaire.
- Prepare store assets: a 512×512 app icon, a 1024×500 feature graphic, 2 to 8 screenshots, short and full descriptions, and the correct category.
Google reviews every submission before it goes live, checking for policy violations, security issues, and misleading content. This review typically takes anywhere from a few hours to a couple of days, though first-time submissions or apps handling sensitive data sometimes take longer. It helps to plan your launch date with this review window in mind rather than assuming the app will appear instantly.
Search visibility inside the Play Store also matters. App Store Optimization (ASO) involves choosing the right title, keywords, and description so that people searching for a solution like yours can actually find your app among millions of others. This is closely related to how people search for solutions on the web in general, so treating your app listing with the same care as a website’s SEO tends to pay off.
Stage 7: Life After Launch
Publishing the app is not the finish line. It is closer to the starting point of a longer relationship with your users. Post-launch work typically includes monitoring crash reports, responding to user reviews, releasing bug fixes, and rolling out new features based on how people are actually using the app. Regular updates also signal to the Play Store’s algorithm that the app is actively maintained, which can help with long-term visibility.
Analytics tools are usually set up during or right after launch to track how users move through the app, which screens they abandon, and which features get the most engagement. This data becomes the foundation for future updates, helping the team prioritize what to build next instead of guessing.
Why Work With Local App Developers in Coimbatore
Working with a nearby team has practical advantages that are easy to overlook until you actually need them. Face-to-face meetings, quicker response times during the same working hours, and a better grasp of the regional market are all things that App developers in Coimbatore can offer over a distant or overseas agency. Local teams are often more familiar with the pricing expectations, business practices, and customer behavior common in South Indian markets, which can shape smarter product decisions from day one.
Beyond convenience, choosing a team that has already shipped multiple apps across different industries means you benefit from lessons they have already learned elsewhere. That experience often shows up as fewer surprises during development and a smoother path to launch.
Final Thoughts
Building an app that goes from a rough sketch to a fully functioning listing on the Google Play Store takes a structured process, the right technical decisions, and a team that treats both design and code with equal seriousness. Whether you are building your first product or expanding an existing business into mobile apps, understanding each stage of the journey helps you ask better questions, set realistic timelines, and avoid common pitfalls along the way.
Get in Touch
If you have an app idea you would like to discuss, or you simply want to understand what building your app in Coimbatore might involve, reach out to our team through our contact us page. We are happy to walk you through the process, share timelines, and help you figure out the best starting point for your project.